Craving incredibly rich and decadent chocolate fudge? Look no further! This simple chocolate fudge recipe uses just three ingredients and delivers unbelievably smooth, melt-in-your-mouth results every time. Perfect for holiday gatherings, potlucks, or simply satisfying a sweet tooth, this easy method ensures you’ll have a delightful treat with minimal effort. Get ready to impress everyone with your homemade creation!
Why You’ll Love This Chocolate Fudge Recipe
You’ll adore this simple chocolate fudge recipe for so many reasons. It truly makes baking effortless and fun, even for beginners.
- Just Three Ingredients: Forget complicated lists. You only need chocolate, condensed milk, and vanilla.
- Quick to Make: From start to finish, this fudge comes together in a flash. It’s perfect for busy schedules.
- Rich and Smooth: Every bite offers a creamy, perfectly sweet experience. The texture is simply divine.
- Crowd-Pleaser: Everyone loves homemade fudge. It’s guaranteed to disappear quickly at any event.
- Incredibly Versatile: Easily adapt this basic recipe with your favorite add-ins and flavors.
Ingredients
Making this decadent chocolate fudge recipe starts with a few key, quality ingredients. You’ll need:
- 3 cups good quality chocolate chips: (18.6 ounces) Opt for semi-sweet or milk chocolate, depending on your preference.
- 14 ounces sweetened condensed milk: This is the base for the fudge.
- 1 teaspoon pure vanilla extract: Enhances the rich chocolate flavor.
Notes & Substitutions
Choosing the right ingredients makes all the difference in this simple chocolate fudge recipe. For the dark chocolate chips, semi-sweet offers a classic, balanced flavor, while milk chocolate creates a sweeter, creamier fudge. You can even use dark chocolate chips for a more intense cocoa experience. Always opt for a reputable brand to ensure smooth melting.
Regarding the sweetened condensed milk, quality matters. Brands like Eagle Brand are highly recommended for their consistent thickness and sweetness, which are crucial for the fudge’s texture. Do not substitute with evaporated milk; it will not work as it lacks the necessary sugar and thickness. Pure vanilla extract provides the best flavor, so avoid imitation if possible. For an even deeper chocolate taste, you can sift in a tablespoon of unsweetened cocoa powder along with the chocolate chips. If you’re exploring vegan options, substitute with sweetened condensed coconut milk and ensure your chocolate chips are certified vegan.
Equipment
You don’t need fancy tools for this easy chocolate fudge recipe. Just a few basics will get the job done:
- Medium saucepan: For melting and combining the ingredients.
- 8×8 inch baking dish: The ideal size for a good fudge thickness.
- Parchment paper or aluminum foil: To line the pan for easy removal.
- Rubber spatula: Essential for stirring and spreading the thick mixture.
- Sharp knife: For clean, precise cutting of the set fudge squares.
Instructions
Creating this delightful chocolate fudge recipe is surprisingly simple. Follow these steps for perfect results.
First, line an 8-inch by 8-inch baking dish. Use aluminum foil or two pieces of parchment paper, overlapping them to form an ‘X’ pattern. This lining ensures your homemade fudge lifts out easily after it sets.
Next, in a medium saucepan, combine the 3 cups of chocolate chips and the 14 ounces of sweetened condensed milk. Place the pan over medium-low heat. Stir the mixture consistently with your rubber spatula as the chocolate begins to melt. Once the chocolate chips are partially melted, stir in the 1 teaspoon of pure vanilla extract.
Continue stirring the mixture until the chocolate is fully melted. Keep stirring until the fudge mixture becomes completely smooth and starts to develop a beautiful, shiny appearance. This ensures a luxurious texture in your homemade chocolate fudge.
Understanding the science behind fudge setting is key to achieving that perfect, non-grainy texture.
Carefully pour the thick, melted fudge mixture into your prepared pan. It will be quite dense, so if it doesn’t pour easily, don’t worry—this is normal. Once all the mixture is in the pan, gently shake the pan back and forth to help the mixture settle evenly. You can also use your rubber spatula to spread it smoothly to the edges, creating a flat top.
Allow the fudge to set completely. This can be done at room temperature on your kitchen countertop and typically takes about four hours. For faster setting, you can place it in the refrigerator for 1-2 hours.
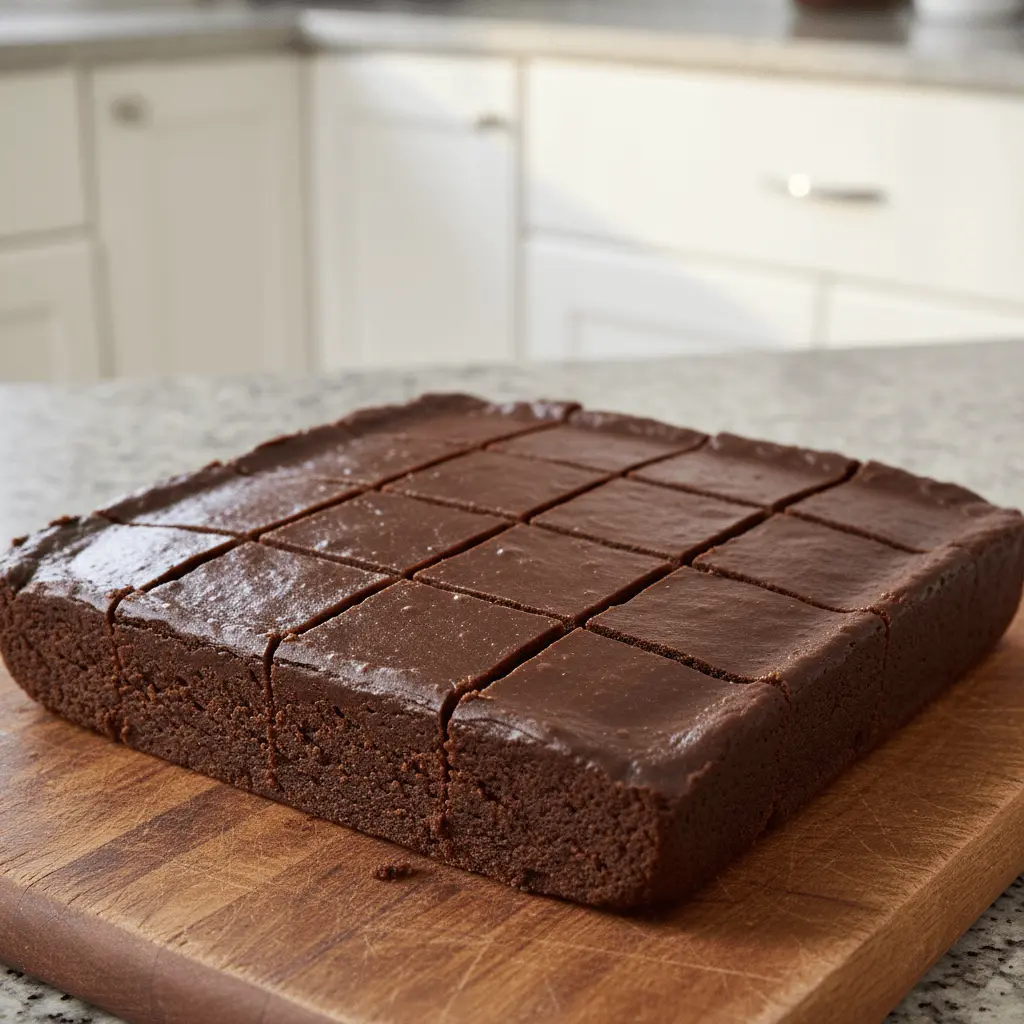
Once fully set, remove the fudge from the pan by lifting the edges of the foil or parchment paper. Carefully peel away the lining. To get perfect squares, trim off any slightly rounded edges from the perimeter of the fudge block. Cut the block in half one way, then in half the other way, creating four equal squares. Now, cut each of these smaller squares into 9 equal pieces by slicing them into thirds both horizontally and vertically. This method yields 36 perfectly portioned pieces of delicious chocolate fudge. Enjoy immediately, or store for later!
Pro Tips for Perfect Chocolate Fudge
Achieving perfect homemade fudge is easy with a few simple tricks.
- Stir Constantly: Keep stirring the chocolate and condensed milk mixture to prevent it from scorching on the bottom.
- Use Low Heat: Melting the ingredients over gentle, low heat prevents the chocolate from seizing or burning, ensuring a smooth texture.
- Avoid Overcooking: Once the mixture is smooth and shiny, remove it from the heat immediately. Overcooking can lead to dry, crumbly fudge.
- Ensure Full Setting: Patience is key. Let the fudge set completely at room temperature for at least four hours before cutting for firm, clean squares.
- Clean Knife Between Cuts: For super neat pieces of your homemade chocolate fudge, wipe your sharp knife with a damp cloth after each cut.
Common Mistakes to Avoid
- Don’t use evaporated milk: This is a crucial mistake; only sweetened condensed milk will yield the correct consistency.
- Avoid high heat: High heat can cause the chocolate to seize or burn, resulting in a grainy or tough texture.
- Don’t rush the setting process: Premature cutting will result in messy, misshapen pieces of your delicious treat.
- Don’t skip the lining: Lining the pan is essential for easy removal and prevents the fudge from sticking.
Serving Suggestions, Storage & Variations
Enjoy your delightful homemade chocolate fudge in many ways! This recipe is incredibly versatile.
Serving Suggestions
- Serve at room temperature for the best creamy texture.
- Pair a small square with a hot cup of coffee, tea, or cocoa.
- Arrange pieces on a dessert platter for parties.
- Package in decorative boxes for a thoughtful homemade gift.
- Crumble small bits over a scoop of vanilla ice cream.
Storage
For detailed guidance on maintaining freshness, reliable sources offer comprehensive advice on fudge storage.
- Store your finished fudge in an airtight container to maintain freshness.
- Keep it at room temperature for up to two weeks, layered with parchment paper.
- For longer storage, freeze the fudge in flat layers within an airtight container or freezer bag for up to three months.
- Thaw frozen fudge on the counter for a few hours before serving.
Variations
- Nutty Fudge: Stir in 1/2 cup of chopped walnuts, pecans, or almonds after removing from heat.
- Fruity Twist: Add dried cranberries, cherries, or apricots for a chewy texture and tart flavor.
- Different Chocolates: Experiment with white chocolate chips, dark chocolate, or even a blend for a custom flavor.
- Swirl It Up: Drizzle melted peanut butter, caramel sauce, or marshmallow fluff over the top before setting, then swirl with a knife.
- Boozy Bites: For adults, consider adding a tablespoon of liqueur like Kahlua, whiskey, or amaretto with the vanilla. Note that liquid adjustments might be needed to maintain the perfect fudge consistency. This elevated chocolate fudge recipe is always a hit!
Nutrition Information
This easy chocolate fudge recipe yields a decadent treat that can be enjoyed in moderation. Here’s a general nutritional breakdown per serving based on 36 pieces.
| Nutrient | Amount | % Daily Value |
|---|---|---|
| Serving Size | 1 piece | |
| Calories | 155 kcal | 8% |
| Carbohydrates | 21g | 7% |
| Protein | 3g | 6% |
| Fat | 7g | 11% |
| Saturated Fat | 4g | 25% |
| Cholesterol | 5mg | 2% |
| Sodium | 19mg | 1% |
| Potassium | 55mg | 2% |
| Fiber | 1g | 4% |
| Sugar | 3g | 3% |
| Vitamin A | 1IU | |
| Vitamin C | 1mg | 1% |
| Calcium | 4mg | |
| Iron | 8mg | 44% |
Frequently Asked Questions (FAQ)
- Does chocolate fudge need to be refrigerated? No, you can store homemade fudge at room temperature in an airtight container.
- Can you freeze homemade fudge? Yes, absolutely! Freeze fudge in an airtight container for up to 3 months.
- How long does homemade fudge last? This easy chocolate fudge recipe will stay fresh for up to two weeks when stored properly at room temperature.
- Can I make this chocolate fudge in the microwave? Yes, you can. Use half power and stir the mixture every 30 seconds until smooth.
- Can I add nuts or dried fruit to this recipe? Yes, you can add about 1/2 cup of chopped nuts or dried fruit after the mixture is off the heat.
- How do you make vegan chocolate fudge? Use sweetened condensed coconut milk and your favorite vegan chocolate chips for a plant-based version.
Conclusion
This easy, three-ingredient chocolate fudge recipe proves that making delicious homemade treats doesn’t have to be complicated. With minimal effort, you can create a smooth, rich, and utterly decadent confection that everyone will adore. It’s incredibly versatile for customizing with your favorite additions and perfect for any occasion, from simple family desserts to festive holiday gifts. Don’t hesitate to give this foolproof recipe a try; it’s sure to become your new favorite! Share your delicious creations and tag us with your homemade fudge masterpieces!