Easy Canned Chicken Pizza Crust Recipe
Discover a simple, healthy pizza alternative that will quickly become a weeknight favorite. This canned chicken pizza crust recipe is perfect for those seeking a low-carb, high-protein meal without sacrificing flavor. You can easily create a delicious pizza base using everyday pantry ingredients. Get ready to enjoy a satisfying dinner that everyone will love, proving healthy eating can be both quick and tasty!
Why You’ll Love This Canned Chicken Pizza Crust
This canned chicken pizza crust offers many benefits for busy home cooks and health-conscious eaters alike.
- Enjoy a savory, cheesy chicken flavor in every bite, a fantastic change from traditional pizza.
- Achieve a sturdy and crispy crust that holds up to all your favorite toppings.
- Benefit from a low-carb, high-protein, and naturally gluten-free meal, fitting various dietary needs.
- Prepare this entire meal in about 30 minutes with minimal ingredients, making it ideal for weeknights.
- Customize your pizza with endless topping combinations for a new experience every time.
- It is a kid-friendly dinner option that provides a wholesome and satisfying alternative to takeout.
Ingredients
To make this amazing canned chicken pizza crust, you only need a few simple items. This recipe transforms humble canned chicken into a fantastic pizza base.
- For the Chicken Crust:
- 3/4 lb Canned Chicken: Make sure it’s well-drained and shredded for the best texture. This amount is equivalent to 1 pound of raw chicken.
- 1/2 cup Grated Parmesan Cheese: This cheese adds depth of flavor and helps create a firm crust.
- 2 cloves Garlic: Freshly minced garlic provides a wonderful aroma and taste. Alternatively, use 1/2 teaspoon garlic powder.
- 1/2 tsp Sea Salt: Enhances all the other flavors.
- 2 large Eggs: Act as the essential binder, holding the crust together.
- Optional Toppings (example):
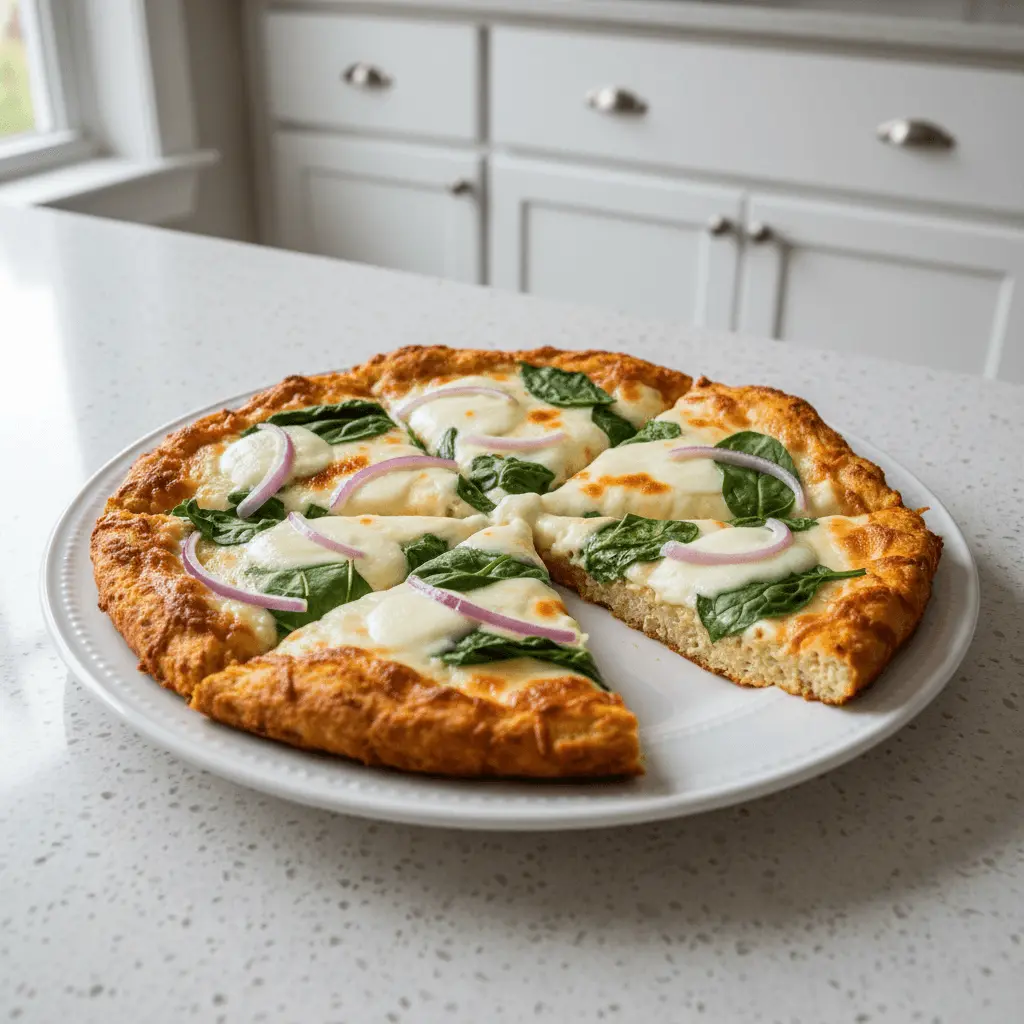
- 1/2 cup Alfredo sauce: A creamy base complements the chicken crust.
- 3/4 cup Fresh spinach: Light and fresh, just push it into the measuring cup when measuring.
- 1/3 cup Red onion: Thinly sliced into half-moons for a subtle bite.
- 1 cup Mozzarella cheese: Shredded, for that classic cheesy finish.
Ingredient Notes & Substitutions
- Chicken: Canned chicken is super convenient for this recipe. Thoroughly drain and press out as much moisture as possible. If you prefer, use cooked shredded or ground chicken, but be aware it may require slight adjustments to baking time.
- Cheese: Parmesan cheese works best for a firm, savory crust texture. You can experiment with other low-moisture hard cheeses if needed, but results may vary.
- Garlic: Freshly minced garlic delivers the best flavor. If fresh isn’t available, 1/2 teaspoon of garlic powder works well, or use jarred minced garlic.
- Eggs: Use large eggs at room temperature if possible, as they blend more smoothly. Egg substitutes might lead to a slightly more fragile crust.
- Seasoning: Feel free to add a pinch of Italian seasoning or dried oregano to the chicken mixture for an extra layer of flavor.
Equipment
Gathering your tools before you start makes cooking much smoother. You won’t need many special items for this canned chicken pizza crust.
- Large mixing bowl
- Pizza peel (highly recommended if you use a pizza stone)
- Parchment paper
- Pizza stone or a sturdy pizza pan
Instructions
Making this canned chicken pizza crust is truly simple. Follow these straightforward steps for a delicious, easy dinner.
- Prepare the Oven: Preheat your oven to 400°F (204°C). Line a pizza peel or a regular pizza pan with parchment paper. This step prevents sticking and makes transfer easy.
- Combine Crust Ingredients: In a large mixing bowl, stir together the well-drained shredded canned chicken, grated Parmesan cheese, minced garlic, and sea salt. Ensure all ingredients are evenly distributed.
- Add Eggs: Lightly whisk the two large eggs in a separate small bowl. Pour the whisked eggs into the chicken mixture. Mix thoroughly until everything is well combined and forms a cohesive “dough.”
- Shape the Crust: Spread the chicken crust pizza “dough” onto the parchment paper on your pizza peel or pan. Press it down as thinly and evenly as possible, aiming for about 1/4 inch thick. This even thickness helps achieve a consistent bake.
- Initial Bake: Carefully slide the parchment paper with the raw crust onto your preheated pizza stone or into the oven on a baking pan. Bake for 15 to 20 minutes. The crust should appear firm and golden brown, especially around the edges.
- Rest the Crust: Take the crust out of the oven and let it rest on the parchment paper for 10 minutes. This crucial step helps the canned chicken pizza crust “seal” and become sturdier before you add toppings.
- Add Toppings: Spread your desired sauce and evenly scatter your chosen toppings over the rested crust. For our example, apply Alfredo sauce, fresh spinach, thinly sliced red onion, and shredded mozzarella cheese.
- Final Bake: Return the pizza to the oven for another 10 to 15 minutes. Bake until the cheese is beautifully melted and bubbly.
- Optional Broil: If you desire extra browning on your cheese or toppings, place the pizza under the broiler for a couple of minutes. Watch it very closely to prevent burning.
- Serve: Slice and serve your amazing canned chicken pizza crust hot!
Pro Tips for the Perfect Canned Chicken Pizza Crust
Crafting the perfect canned chicken pizza crust is easy with these simple tips. They help ensure a crispy, sturdy base every time.
- Draining is Key: Squeeze as much moisture as possible from the canned chicken. Excess water can make your crust soggy.
- Optimal Consistency: The crust mixture should be dense but still pressable. If it feels too wet, add a tiny bit more Parmesan. If too dry, a splash of water might help, but usually, the eggs are enough.
- Spread it Thin: Always spread the chicken mixture as thinly and evenly as you can. A thin crust cooks more thoroughly and crisps up better.
- Parchment Paper is a Must: Don’t skip lining your pan or peel with parchment paper. It prevents sticking and makes transferring your pizza a breeze.
- The Golden Rest Rule: After the initial bake, resting the crust for 10 minutes is crucial. This “sealing” time prevents the crust from becoming soggy when you add toppings.
- Pizza Stone Power: For the crispiest canned chicken pizza crust experience, use a preheated pizza stone. Culinary experts often recommend using a pizza stone for superior heat retention and an extra-crispy crust. It conducts heat beautifully, creating a satisfying crunch.
Serving Suggestions & Variations
This canned chicken pizza crust is incredibly versatile, making it easy to change up flavors and fit any meal.
- Creative Topping Ideas:
- Classic Pepperoni: Use a vibrant tomato sauce, a layer of mozzarella, and plenty of pepperoni.
- Meat Lover’s: Top with pre-cooked sausage, crispy bacon, and seasoned ground beef for a hearty meal.
- BBQ Chicken: Spread sugar-free BBQ sauce, then add cheddar cheese, thinly sliced red onion, and fresh cilantro after baking.
- Veggie Loaded: Choose a red sauce base, then add colorful bell peppers, sliced mushrooms, and black olives.
- Margherita: Keep it simple with tomato sauce, fresh mozzarella slices, and fresh basil leaves for a bright taste.
- Storage: Store any leftover slices in an airtight container in the fridge for up to 4 days. Place a piece of parchment paper between slices to prevent them from sticking.
- Meal Prep: You can pre-bake the chicken crusts, let them cool completely, then wrap them tightly. Store them in the fridge to have ready for quick pizza assembly later in the week.
- Reheating: To enjoy a crispy crust again, reheat your leftover pizza on a pizza stone or baking sheet in a 350°F oven for about 10 minutes. Avoid using the microwave, as it often results in a soft, less appealing crust.
- Freezing: For longer storage, pre-bake the crust as directed, then let it cool completely. Freeze the baked crust flat on a baking sheet, then wrap it tightly in plastic wrap and foil. It keeps well for 3-6 months. Bake from frozen with your favorite toppings.
Nutrition Information
This canned chicken pizza crust recipe provides a satisfying and nutrient-rich meal. Many find that high-protein, low-carb diets can support various health goals, including weight management and improved blood sugar control. The values below are an estimate per serving, based on the example toppings provided.
| Nutrient | Amount |
|---|---|
| Calories | 441 kcal |
| Total Carbs | 5g |
| Net Carbs | 5g |
| Protein | 38g |
| Fat | 29g |
Note: Nutrition is an estimate and varies with specific ingredients and toppings you choose.
Frequently Asked Questions (FAQ)
Here are answers to common questions about making this fantastic canned chicken pizza crust.
- Can I use raw ground chicken? Yes, you can use about 1 pound of raw ground chicken. You may need to adjust the initial baking time slightly until it cooks through and firms up.
- Is this recipe truly gluten-free? Absolutely! This recipe contains no flour or traditional grains, making it naturally gluten-free and perfect for those with sensitivities.
- Why is my crust soggy? Your crust might be soggy if you did not drain the canned chicken thoroughly or spread the mixture thick. Also, make sure to let the baked crust rest for 10 minutes before adding toppings.
- Can I make mini pizzas? Yes, easily! Just shape the chicken mixture into smaller circles on the parchment paper. You will need to adjust the baking times accordingly, likely reducing them slightly.
- How do I get crispy edges? Spreading the crust thinly and evenly helps immensely. Using a preheated pizza stone also contributes greatly to achieving those desired crispy edges.
Conclusion
This canned chicken pizza crust recipe offers an incredibly easy, quick, and satisfying way to enjoy pizza. It is a fantastic option for anyone seeking a low-carb, high-protein, and gluten-free alternative to traditional pizza. With its simple ingredients and straightforward steps, you can create a delicious meal in under an hour. Get creative with toppings and make this versatile canned chicken pizza crust a regular and enjoyable part of your meal rotation!