Introduction
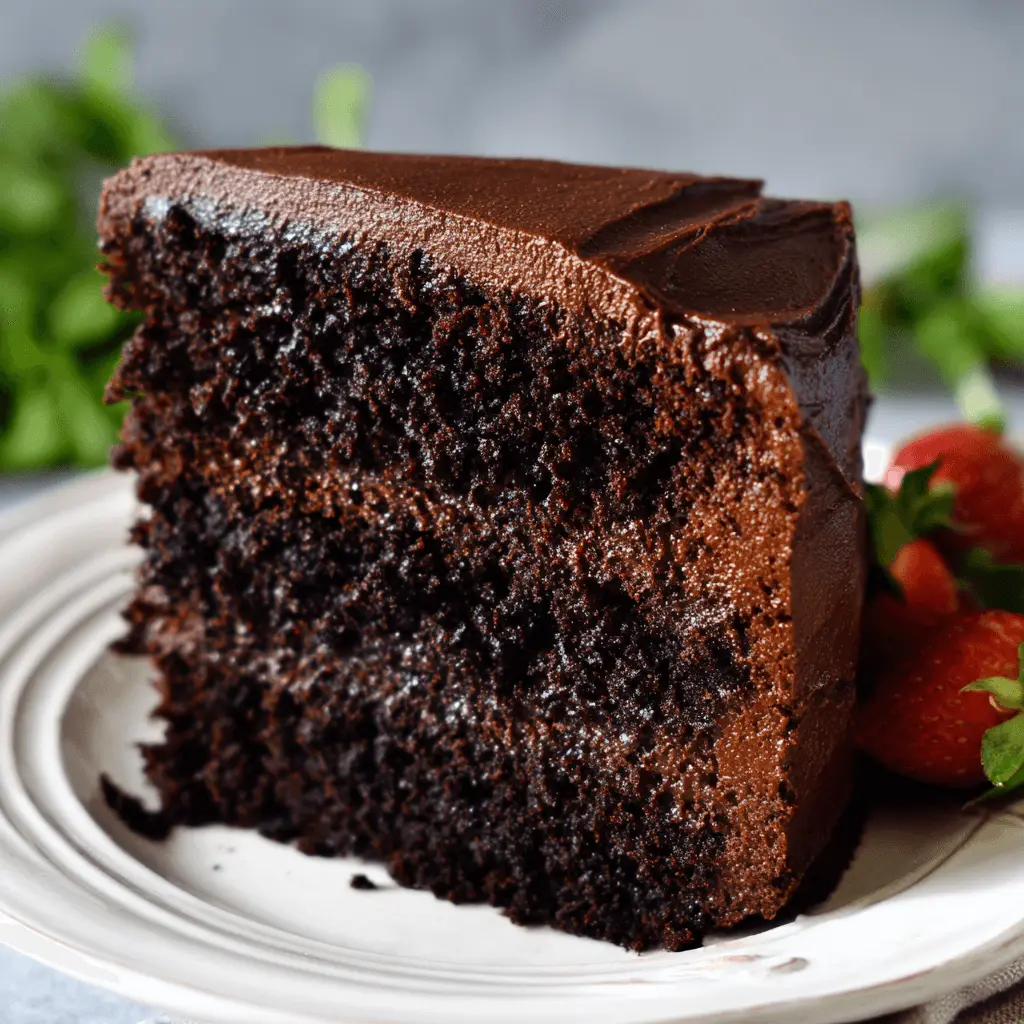
Discover how simple it is to bake a truly moist and rich gluten free chocolate cake. This easy one-bowl recipe yields an undetectably gluten-free dessert that tastes just like the classic. It’s perfect for any celebration or when a craving strikes, offering a delightful treat for everyone. Plus, we’ve included dairy-free friendly options to suit various dietary needs. Jump to the recipe below for quick baking!
Why You’ll Love This Gluten Free Chocolate Cake
- Incredibly Moist: Enjoy a wonderfully tender and soft crumb every single time you bake this cake.
- Rich Chocolate Flavor: Experience a deep, satisfying chocolate taste that will please any dessert lover.
- Simple One-Bowl Prep: This recipe minimizes cleanup and makes the entire baking process incredibly quick and easy.
- Undetectably Gluten-Free: Even those without dietary restrictions won’t guess this delicious gluten free chocolate cake is free of gluten.
- Dairy-Free Adaptable: Easily swap out dairy ingredients for non-dairy alternatives to fit your specific dietary requirements.
- Perfect for Any Occasion: Whether it’s a special celebration or an everyday sweet craving, this cake is always a hit.
Ingredients
Crafting this delightful gluten free chocolate cake is straightforward with simple ingredients. We’ve listed everything you need for both the cake and the luscious chocolate buttercream frosting. Get ready to bake a delicious treat!
For the Gluten-Free Chocolate Cake:
- 2 2/3 cups Sifted gluten-free all-purpose baking flour
- 1 cup Sifted cocoa powder
- 1 1/2 teaspoon Baking powder
- 1 teaspoon Baking soda
- 1/2 teaspoon Salt
- 1 cup Milk (dairy or non-dairy)
- 1 cup White sugar
- 3/4 cup Light brown sugar
- 3 Large eggs
- 1 teaspoon Vinegar (white or apple cider)
- 1 tablespoon Vanilla extract
- 2/3 cup Neutral oil (safflower, canola, refined avocado etc.)
- 1 cup Hot brewed coffee or boiling water
For the Chocolate Buttercream Frosting:
- 3/4 cup Softened butter (1 1/2 sticks, dairy or vegan)
- 1/2 cup Sifted cocoa powder
- 3-5 cups Sifted powdered sugar (adjust to get your desired consistency)
- 2-4 tbsp Milk (dairy or non-dairy)
- 2 tsp Vanilla extract
Notes & Substitutions
- Gluten-Free Flour: For consistent results, we highly recommend using a quality 1:1 gluten-free all-purpose baking flour blend that already contains xanthan gum. Understanding the role of ingredients is key to successful gluten-free baking, and you can learn more about the role of xanthan gum in gluten-free baking. Bob’s Red Mill 1:1 is a great choice.
- Cocoa Powder: Opt for a high-quality cocoa powder to ensure a deep and rich chocolate flavor in your cake.
- Dairy-Free: To make this a dairy-free chocolate cake, simply use your preferred non-dairy milk and a good quality vegan butter.
- Coffee: Hot brewed coffee significantly enhances the chocolate notes in the cake. Culinary experts often highlight how coffee can intensify the rich taste of chocolate in baked goods. If you prefer not to use coffee, boiling water works just as well.
- Sugars: The combination of white and brown sugar creates a lovely moist texture and depth of flavor. You can adjust the ratios slightly, but avoid major changes.
- Eggs: Eggs are crucial for the structure and texture of this recipe. There isn’t a direct vegan substitute that works well in this specific cake.
Equipment
Gathering your tools beforehand makes the baking process smooth and enjoyable. You’ll only need a few basic items for this delicious gluten free chocolate cake.
- Large mixing bowl
- Whisk (or electric mixer for ease)
- 9×13 inch cake pan or two 8-inch round cake pans
- Parchment paper rounds
- Cooling rack
- Measuring cups and spoons
- Sifter
Instructions
Baking a delicious gluten free chocolate cake has never been easier. Follow these simple steps for a perfect, moist cake every time.
- Preheat Oven: Set your oven to 350°F (175°C). This ensures the oven is at the correct temperature for even baking.
- Prepare Pans: Grease either one 9×13 cake pan or two 8-inch round cake pans. Line the bottom(s) with parchment paper. Using parchment rounds makes this step quick and easy. Set your prepared pan(s) aside.
- Combine Wet Ingredients: In a large mixing bowl, whisk together the milk, white sugar, light brown sugar, eggs, vinegar, vanilla extract, and neutral oil. Whisk until these ingredients are well combined and smooth.
- Add Dry Ingredients: Now, whisk in the sifted gluten-free flour, sifted cocoa powder, baking powder, baking soda, and salt to the wet mixture. Combine until just incorporated.
- Stir in Hot Liquid: Pour the hot brewed coffee or boiling water into the batter. Whisk gently until everything is fully combined and smooth. The batter will be quite thin at this stage.
- Fill Pans: Divide the thin batter evenly into your prepared cake pan(s). If you are making a layer cake, try to measure each cake as equally as possible. A kitchen scale provides the best results for even layers.
- Bake Cake: Place the pan(s) in the preheated oven. Bake a sheet cake for 35-45 minutes. For layer cakes, bake for 32-37 minutes. Baking times can vary depending on your oven, so keep an eye on your cake.
- Check Doneness: To check if the cake is done, insert a toothpick into the center. It should come out clean or with a few moist crumbs attached.
- Cool Cakes: Allow the cake(s) to cool in the pan(s) for about 10-20 minutes. Then, carefully invert them onto a cooling rack. The cake should slide out easily. Peel off the parchment paper from the bottom and flip the cake(s) back so they are upright.
- Prepare Buttercream: While the cake cools completely, prepare your frosting. Add softened, room temperature butter to the bowl of a stand mixer or a large bowl with a handheld mixer. Beat the butter until it is smooth and creamy.
- Add Cocoa: Beat in the sifted cocoa powder until it is fully incorporated into the butter.
- Add Sugar & Liquids: Gradually beat in the sifted powdered sugar, one cup at a time, until you reach your desired consistency. Finally, beat in the milk and vanilla extract until the buttercream is well combined and smooth.
- Frost Cake: Once the gluten free chocolate cake is completely cool, apply the prepared chocolate buttercream frosting. Ensure the cake is fully cooled to prevent the frosting from melting.
- Serve & Enjoy: Add sprinkles or any other desired decorations. Slice and enjoy your delightful homemade treat!
Pro Tips for the Best Gluten Free Chocolate Cake
Achieving a perfect gluten free chocolate cake is easy with these helpful professional tips. They ensure a moist, flavorful result every time.
- Sift dry ingredients: Always sift your gluten-free flour and cocoa powder. This removes lumps and guarantees an evenly mixed, smooth batter.
- Room temperature ingredients: Use room temperature milk, eggs, and butter. This helps them emulsify better, creating a smooth, homogenous batter.
- Don’t overmix: Mix the batter just until the dry ingredients are incorporated. Overmixing can develop the gluten-free flour too much, leading to a tough cake texture.
- Hot liquid activation: The hot coffee or water helps bloom the cocoa powder, intensifying the chocolate flavor. It also ensures a wonderfully moist final cake.
- Even batter distribution: For layer cakes, use a kitchen scale to divide the batter equally between pans. This promotes even baking and perfectly level layers.
- Cool completely: It is absolutely essential to let your cake cool entirely before applying frosting. Frosting a warm cake will cause the buttercream to melt and slide off.
- Central oven placement: Place your cake pan in the center of the oven. This ensures consistent heat distribution, promoting even baking and a beautiful rise.
Serving, Storage, & Variations
This versatile gluten free chocolate cake is wonderful as is, but you can easily elevate it or adjust it to your needs.
Serving Suggestions
- Serve each slice with a generous scoop of vanilla bean ice cream or a dollop of fresh whipped cream.
- Dust the top with a little extra cocoa powder or powdered sugar for an elegant finish.
- Garnish with fresh berries, chocolate shavings, or colorful sprinkles for a festive touch.
Storage
- Room Temperature: Store your frosted gluten free chocolate cake in an airtight container at room temperature for 3-4 days.
- Refrigerator: For longer freshness, refrigerate the covered cake for up to 1 week. Bring it to room temperature before serving for the best texture.
- Freezer (unfrosted): Wrap individual unfrosted cake layers tightly in plastic wrap, then foil. Freeze for up to 2 months. Thaw in the refrigerator before frosting.
Variations
- Gluten-Free Chocolate Cupcakes: Convert this recipe into delicious cupcakes. Fill liners two-thirds full and adjust the bake time to 16-18 minutes.
- Bundt Cake: Pour the batter into a well-greased and floured Bundt pan. Adjust the bake time to approximately 45-55 minutes, or until a toothpick comes out clean.
- Different Frostings: Experiment with other toppings like a rich ganache, a simple vanilla buttercream, or a tangy cream cheese frosting.
- Flavor Boosts: Enhance the chocolate flavor by adding a teaspoon of instant espresso powder to the dry ingredients. A hint of orange zest can also brighten the cake.
Nutrition Information
- Serving size: 1 slice (with frosting)
- Calories: 380 kcal
- Carbohydrates: 69 g
- Protein: 4.1 g
- Fat: 11.6 g
- Fiber: 3.3 g
- Sugar: 49 g
Disclaimer: Nutritional values are estimates and may vary based on specific ingredient brands and preparation methods.
Frequently Asked Questions
- Is flourless cake the same as gluten-free cake? No, not always. Flourless cakes inherently lack wheat flour, making them gluten-free, but a gluten free chocolate cake specifically uses gluten-free flour blends.
- Can I make this recipe into cupcakes? Absolutely! Divide the batter among cupcake liners, filling each about two-thirds full. Bake for approximately 16-18 minutes, or until a toothpick comes out clean.
- Can I use only white sugar instead of brown sugar? Yes, you can. However, using both white and brown sugar adds depth of flavor and contributes to the cake’s moist texture. If using only white sugar, the cake may be slightly less moist.
- What if I don’t have 8-inch round cake pans? This recipe also works perfectly in a 9×13 inch rectangular pan, or even two 9-inch round pans. Just be aware that baking times may vary slightly, so check for doneness with a toothpick.
- Why did my gluten-free cake turn out dense/crumbly? A dense cake might be due to overmixing or not sifting ingredients. A crumbly cake could be caused by overbaking or not having enough moisture from room temperature ingredients.
- Can I add chocolate chips to the batter? Yes, you can! Gently fold in about 1 cup of chocolate chips, nuts, or even mini marshmallows into the batter before pouring it into the pan for an extra treat.
Conclusion
Enjoy making and sharing this incredibly easy and delicious gluten free chocolate cake. Its rich flavor and tender crumb make it a perfect dessert that everyone will love, regardless of dietary needs. Bake this simple one-bowl cake for your next special occasion or whenever you desire a satisfying sweet treat. Don’t forget to share your amazing creations with us and tag us on social media!