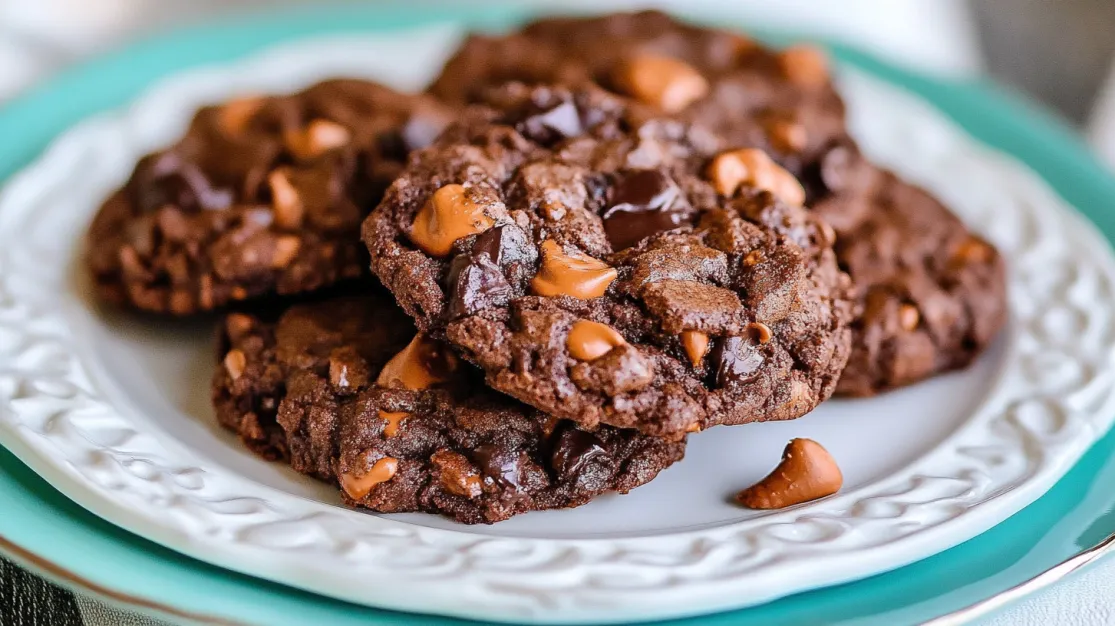
The scent hits first: a swirl of dark chocolate, toasty coconut, and a hint of butterscotch floating through the kitchen. Then you bite in—chewy edges, fudgy centers, and that unmistakable brownie-meets-cookie magic.
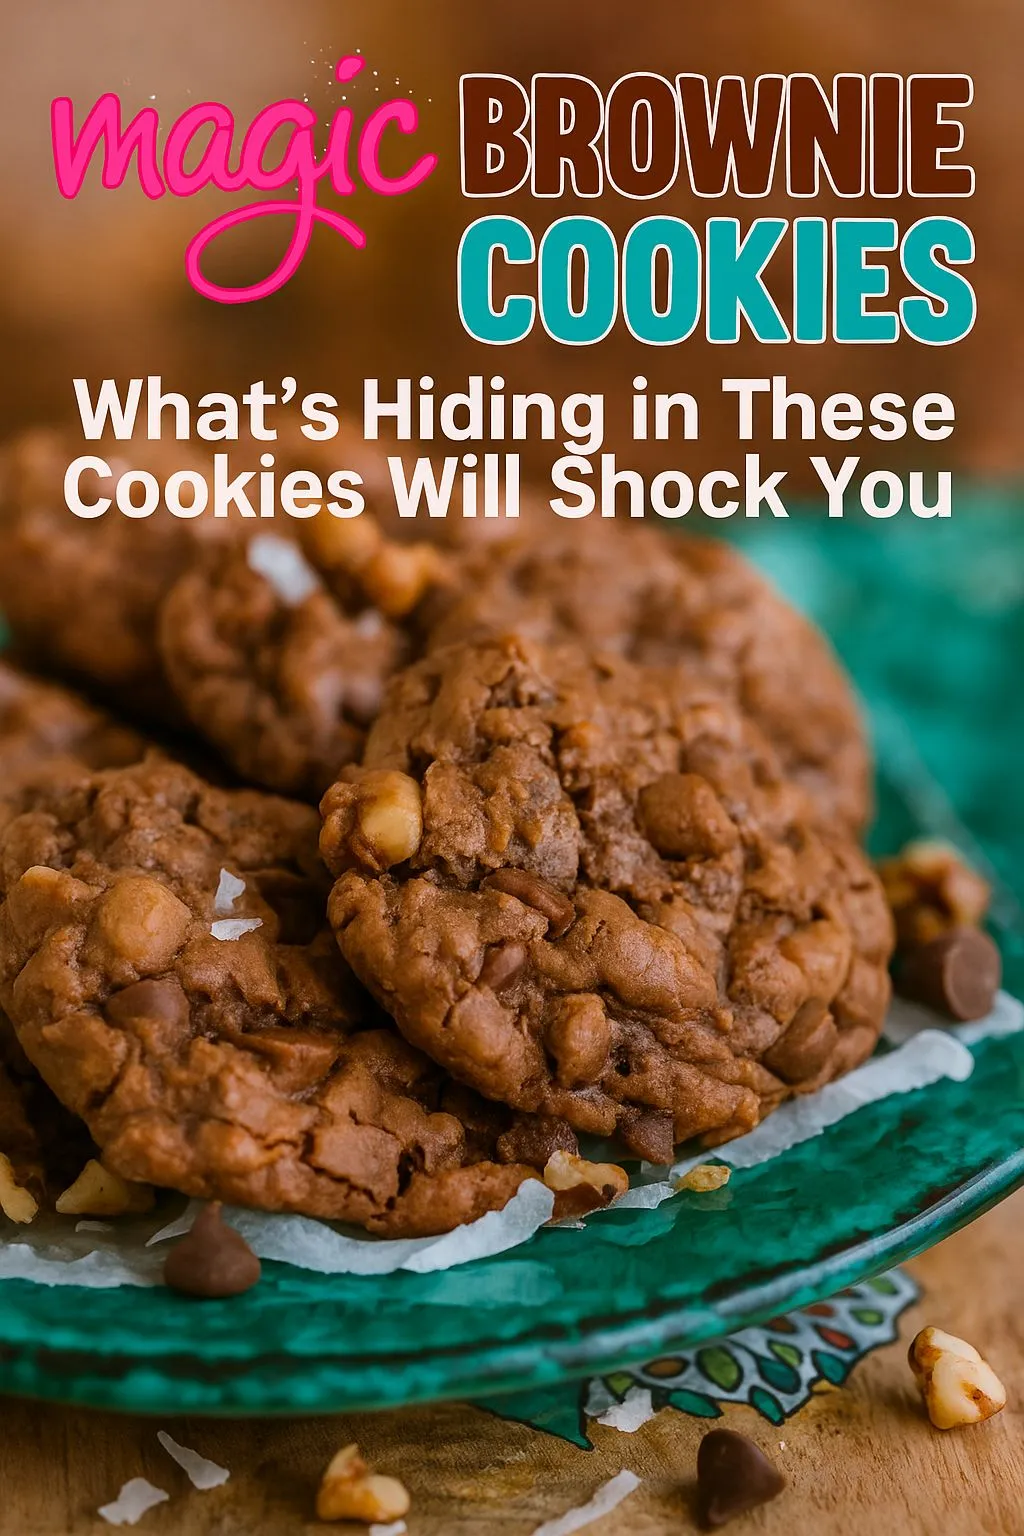
If you’ve ever wished your favorite brownie and go-to cookie could have a delicious little dessert baby, meet your new obsession: Magic Brownie Cookies. Inspired by nostalgic Magic Bars, these cookies pack all the richness of a brownie with the festive flair of gooey toppings and irresistible mix-ins.
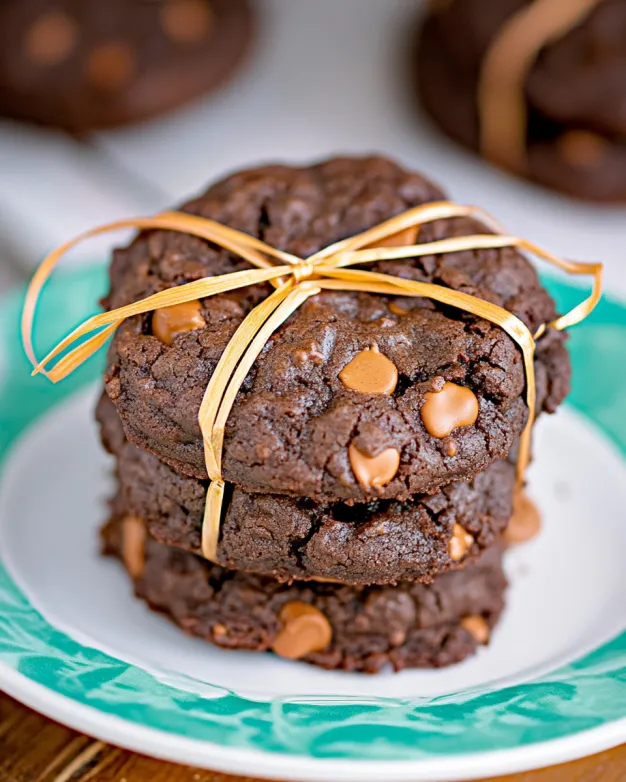
What makes them extra special? They’re totally make-ahead friendly, a dream for holiday trays or last-minute bake sales. This batch yields about two dozen indulgent cookies—just enough to share (or not).
Whether you’re baking with kids or treating yourself to a cozy kitchen win, this brownie cookie recipe checks every box: easy, crowd-pleasing, and utterly decadent.
Ready to dive into chocolate bliss? Let’s go!
Table of Contents
What You’ll Need
Chocolate Base
- 1/2 cup (1 stick) unsalted butter – melted with chocolate for that signature fudgy texture
- 1 cup semi-sweet chocolate chips – brings deep cocoa richness to every bite
Wet Ingredients
- 2 large eggs – help bind the dough and give structure
- 3/4 cup granulated sugar – balances the cocoa with just the right sweetness
- 1 tsp vanilla extract – enhances the chocolate and brings warmth
Dry Ingredients
- 1/2 cup all-purpose flour – just enough to hold the cookie form
- 1/4 tsp baking powder – provides a subtle lift
- 1/4 tsp salt – intensifies all the flavors
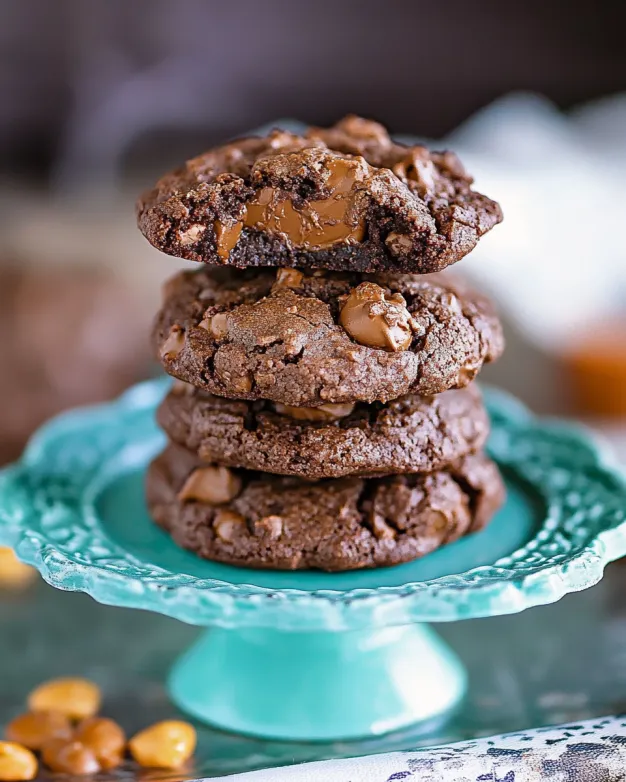
Magic Mix-Ins
- 1/2 cup butterscotch chips – add a caramel-sweet twist
- 1/2 cup sweetened shredded coconut – for chewy, golden edges
- 1/2 cup chopped walnuts – optional, but bring crunch and earthiness
Nostalgic Tip: These “magic bar-style mix-ins” are what give the cookie its name—and its irresistible texture combo.
Need a base recipe to start from? Check out our fudgy chocolate cookie dough tutorial to master the basics.
Let’s mix up some magic!
How to Make Magic Brownie Cookies
1. Melt the Chocolate and Butter
In a microwave-safe bowl, combine the butter and chocolate chips. Microwave in 30-second bursts, stirring between each, until smooth and glossy. Let cool slightly—this prevents scrambled eggs in the next step!
2. Mix the Wet Ingredients
In a large bowl, whisk together the eggs, sugar, and vanilla extract until light and slightly frothy. Slowly pour in the cooled chocolate mixture and whisk until combined.
3. Fold in the Dry Ingredients
Sift in the flour, baking powder, and salt. Gently fold the dry ingredients into the chocolate base using a spatula. Stop mixing as soon as the flour disappears to avoid overworking the batter. (Need a refresher? Here’s a great guide on how to measure flour correctly.)
4. Stir in the Magic Mix-Ins
Add the butterscotch chips, coconut, and walnuts. Fold them in until evenly distributed. The dough will be thick and sticky—perfect for chewy results.
5. Scoop and Bake
Preheat oven to 350°F (175°C). Line baking sheets with parchment paper. Use a medium cookie scoop (about 1.5 tablespoons) to portion dough onto the sheets, spacing about 2 inches apart. Bake for 9–11 minutes, until edges are set and tops are crackly.
Let cookies cool on the baking sheet for 5 minutes before transferring to a wire rack.
Pro tip: For thicker cookies, chill the dough for 30 minutes before baking.
With each batch, you’ll master the art of homemade brownie cookies—rich, gooey, and straight-up magical.
Tips for Perfect Magic Brownie Cookies
- Use high-quality chocolate. It makes a world of difference in flavor depth and richness.
- Let the melted chocolate cool. Hot chocolate can cook your eggs—cool it slightly to keep the batter silky.
- Chill the dough. Want thicker, chewier cookies? A 30-minute chill helps prevent spreading.
- Line baking sheets with parchment. It ensures even baking and makes cleanup a breeze.
- Watch the edges. Bake just until the edges are set and tops are crackly for a fudgy center.
Ready for flavor twists or allergy-friendly swaps? Let’s talk substitutions and variations next!
Substitutions and Variations
- Nut-Free Version: Swap walnuts with pumpkin or sunflower seeds, or omit entirely for a safer school snack. Check out our nut-free cookie recipes.
- Coconut-Free Option: Replace shredded coconut with rolled oats or chopped dried cherries for a chewy bite.
- Chip Swap: Try white chocolate, dark chocolate, or peanut butter chips to change up the flavor profile.
- Gluten-Free Friendly: Use a tested 1:1 gluten-free flour blend. We love King Arthur’s or Cup4Cup for best texture.
- Make Them Bars: Press the dough into a parchment-lined 8×8 pan and bake 20–24 minutes for brownie cookie bars.
- Sandwich It: Once baked and cooled, spread marshmallow fluff or ganache between two cookies for a gooey treat.
No matter the twist, these brownie cookie variations are sure to bring joy in every bite!
Nutrition Information
Each Magic Brownie Cookie contains approximately:
- 158 calories
- 9g fat
- 17g carbohydrates
- 2g protein
Note: These values are based on a 24-cookie yield and can vary with mix-ins and portion size. Storage methods may slightly affect moisture content but not the macronutrient breakdown.
Want to lighten them up? Try using dark chocolate chips and reducing sugar slightly—though we say: when it’s magic, indulge a little!
FAQ
What is a magic brownie? A magic brownie is inspired by Magic Bars—a layered dessert made with condensed milk, chocolate, coconut, and nuts. These cookies borrow those dreamy flavors in chewy cookie form.
What’s the difference between a brownie and a brownie cookie? Brownies are baked in pans and cut into squares, often denser and gooier. Brownie cookies are scoopable and baked on sheets—chewy like brownies but with crackly cookie tops.
Can I make these ahead of time? Absolutely! You can chill the dough for up to 48 hours or freeze baked cookies for up to 3 months. Learn more about freezing cookie dough.
How do I know when they’re done? Look for set edges and crackly tops. The centers may look soft but will firm up as they cool.
What if my cookies spread too much? Try chilling the dough longer or using a slightly higher ratio of flour. Make sure your baking sheet isn’t warm from a previous batch.
Have more baking questions? Drop them in the comments—we’re here to help!