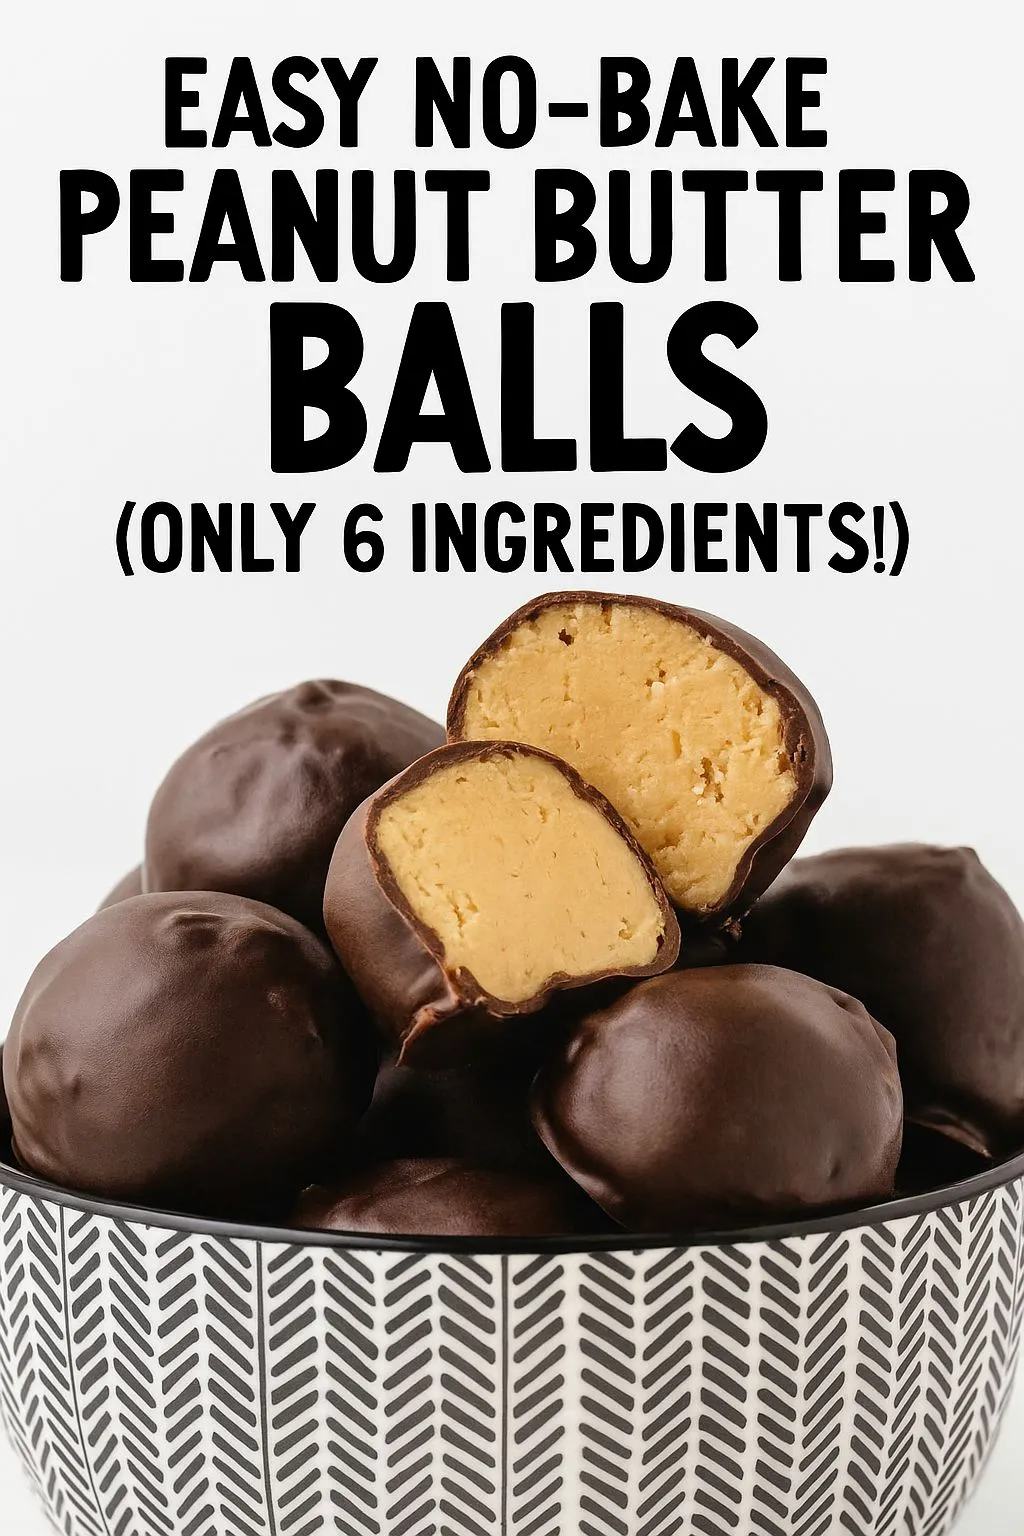
If you’re searching for a sweet, creamy, and chocolatey treat that doesn’t require baking, you’ve just struck gold. These no-bake Peanut Butter Balls are one of the easiest desserts you can whip up—no oven, no fancy tools, just pantry staples and about 30 minutes of your time.
Perfect for Christmas cookie trays, after-school snacks, potlucks, or simply to satisfy that peanut butter craving, this recipe is a go-to for both beginners and experienced bakers. The best part? They’re freezer-friendly, giftable, and seriously addictive.
Table of Contents
Why You’ll Love These Peanut Butter Balls
There’s a reason these treats are on repeat in so many homes. Here’s why this recipe is a standout:
- No baking required – Just mix, roll, dip, and chill. Done!
- Minimal ingredients – Everything you need might already be in your kitchen.
- Smooth + Crunch – Creamy peanut butter centers and a crisp chocolate shell.
- Make-ahead friendly – Store or freeze for whenever your sweet tooth hits.
- Crowd-pleasing – Everyone from kids to adults loves these, making them ideal for parties or cookie swaps.
Think of these as homemade Reese’s peanut butter cups—but better. You control the ingredients and can customize each bite to your liking.
For a trusted version of this treat, check out the classic Peanut Butter Balls III recipe on AllRecipes.—it’s one of the highest-rated versions online.
Ingredients (From Trusted Sources)
To ensure consistent, delicious results, this ingredient list is based on the most highly rated peanut butter ball recipes from sources like AllRecipes, Simply Recipes, and Kitchen Fun With My 3 Sons.
- 1 ½ cups creamy peanut butter
(Use a no-stir brand like Jif or Skippy to maintain consistency and texture) - ½ cup unsalted butter, softened
(Adds richness and blends effortlessly with peanut butter) - 2 ½ to 4 cups powdered sugar
(Start with 2½ cups; increase gradually until the dough is rollable and not sticky) - 1 teaspoon vanilla extract
(For aroma and depth of flavor) - 3 cups crisp rice cereal (optional)
(Adds crunch and lightness—especially great for kids!) - 12 oz semisweet chocolate chips
(Or use dark/milk chocolate depending on preference) - 1 tablespoon coconut oil or vegetable shortening (optional)
(For a smoother, glossier chocolate coating)

How to Make Peanut Butter Balls – Step-by-Step
Let’s walk through each phase so you can get perfect results, even if this is your first time in the kitchen.
1. Make the Peanut Butter Dough
In a large mixing bowl, use a spatula or electric mixer to blend together the peanut butter, softened butter, vanilla extract, and 2 ½ cups of powdered sugar. The mixture should be smooth and thick.
If using crisp rice cereal, gently fold it in at this stage. Check the consistency—if the dough is too sticky to roll, gradually add more powdered sugar, ¼ cup at a time, until it firms up.
Tip: The dough should feel like firm cookie dough—not wet or runny.
2. Shape the Balls
Use a small cookie scoop or tablespoon to portion out the dough. Roll each portion between your palms to form smooth, round balls. Place them on a parchment-lined baking sheet as you go.
This recipe typically makes 20 to 30 peanut butter balls, depending on size.
3. Chill Until Firm
Transfer the tray to the refrigerator for at least 30 minutes. Chilling the dough makes it easier to dip in chocolate later and prevents the balls from falling apart.
Short on time? Pop them in the freezer for 10–15 minutes instead.
4. Melt the Chocolate
In a microwave-safe bowl, combine your chocolate chips and optional coconut oil or shortening. Microwave in 30-second intervals, stirring in between, until smooth and glossy.
You can also melt the chocolate using a double boiler if you prefer a stovetop method.
5. Dip the Ball
Using a fork, spoon, or toothpick, dip each chilled ball into the melted chocolate. Gently swirl to coat all sides and let any excess chocolate drip off before placing it back onto the parchment paper.
If you’re adding toppings like sprinkles, crushed peanuts, or flaky salt, sprinkle them on before the chocolate sets.
6. Set and Serve
Chill the dipped balls in the refrigerator for 15–20 minutes, or until the chocolate hardens completely.
Now you’re ready to serve—or hide a few in the freezer for your future self!
Storage Instructions
- Refrigerator: Store peanut butter balls in an airtight container for up to 2 weeks. Separate layers with parchment paper to prevent sticking.
- Freezer: Freeze for up to 2 months. Let thaw for a few minutes at room temperature before serving.
Great for gifting! Package in festive boxes or tins for birthdays or holidays.
Optional Add-Ins & Toppings
Make this classic recipe your own with creative mix-ins or toppings:
- Crunch lovers: Add crushed pretzels, graham crackers, or chopped nuts inside the dough.
- Holiday vibes: Use red/green sprinkles for Christmas, pastel for Easter, or themed sprinkles for birthdays.
- Sweet & salty: A small sprinkle of flaky sea salt over the chocolate layer adds a perfect balance.
- Healthier twist: Replace cereal with quick oats or skip the chocolate for a lighter treat.
Common Questions
Can I use natural peanut butter?
You can, but it’s not recommended. Natural peanut butter tends to be oily and doesn’t hold shape as well, making it tricky for this no-bake recipe.
I don’t have coconut oil. What can I use instead?
Coconut oil helps thin the chocolate, but it’s optional. Vegetable shortening works just as well. Or you can skip it altogether—just stir your chocolate well.
Do I really need to chill them before dipping?
Yes! Chilling helps firm up the peanut butter balls, making them easier to dip without falling apart in the melted chocolate.
Expert Tips for Best Results
- Portion evenly using a cookie scoop—keeps the batch consistent in size and chill time.
- Work quickly when dipping. Warm chocolate can start to harden, so dip a few at a time and reheat if needed.
- Toothpicks help! If you’re not using a fork, a toothpick offers cleaner dipping and easy release.
- Make-ahead friendly: Roll and freeze undipped balls. Dip in chocolate just before serving for maximum freshness.
Final Thoughts
Whether you’re prepping a holiday cookie tray, looking for an easy no-bake dessert, or just craving something sweet and satisfying, these Peanut Butter Balls are a timeless winner. They’re simple enough for kids to help with and customizable enough to make them your signature treat.
Try them once, and you’ll be making them every season.