Say goodbye to bland dinners and hello to the crispiest, juiciest air fryer chicken thighs! This recipe transforms humble chicken into a weeknight hero with minimal effort and maximum flavor. Your air fryer makes achieving golden, crunchy skin and tender, succulent meat incredibly easy and fast. It’s a versatile dish that fits perfectly into any meal plan, offering a healthy and delicious option the whole family will love. Get ready to enjoy perfectly cooked chicken every time.
Why You’ll Love These Air Fryer Chicken Thighs
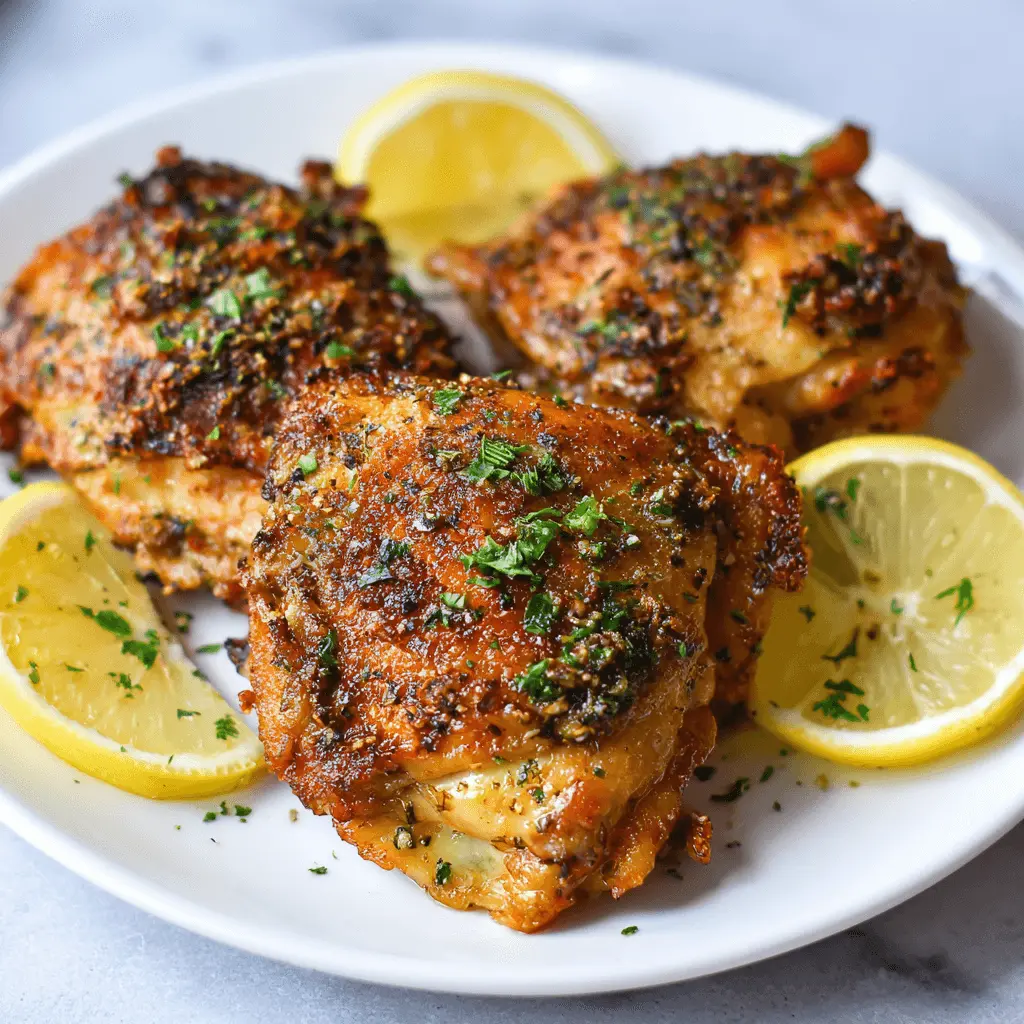
- Ultimate Crispy Skin: Achieve incredibly golden and crunchy skin with wonderfully tender, juicy meat inside.
- Quick & Minimal Prep: Enjoy a delicious meal on the table in under 30 minutes, with very little hands-on time.
- Healthy & Flavor-Packed: This method delivers a healthier fried alternative without sacrificing any of the delicious flavor. If you’re looking for other healthy options, consider an easy low-carb chicken recipe.
- Versatile Family Favorite: Pair these air fryer chicken thighs with almost any side dish, making them a go-to for busy nights.
- Easy Clean-Up: Cooking in the air fryer means less mess and simpler post-dinner tidying.
Ingredients
To create these irresistible air fryer chicken thighs, gather these simple items. Fresh, high-quality ingredients always make a difference in your final dish.
- 6 chicken thighs (bone-in, skin-on)
- 1 lemon
- 1 teaspoon kosher salt
- 1/4 teaspoon black pepper
- 1 teaspoon garlic powder
- 1 teaspoon onion powder
- 1/2 teaspoon sweet paprika
- 1/2 teaspoon dried herbs (such as Herbes de Provence or dried oregano)
Notes & Substitutions
You can easily adapt this recipe to fit your preferences. For different chicken thigh types, use boneless, skinless thighs but adjust cooking time as they cook faster. Fresh chicken yields the best texture, but thawed frozen thighs work well too; just ensure they are fully defrosted and patted dry. Feel free to customize the spice blend; try smoked paprika for depth, or a pinch of cayenne for a kick. If you lack fresh lemon, a tablespoon of apple cider vinegar or a squeeze of bottled lemon juice makes a fine substitute. Always use good quality spices for the best flavor outcome.
Equipment
Having the right tools makes cooking simple and enjoyable.
- Air fryer (basket or oven style)
- Tongs
- Meat thermometer
- Mixing bowl
Instructions
Follow these easy steps to prepare perfect air fryer chicken thighs that are crispy on the outside and juicy on the inside.
Step 1: Prep Chicken
Thoroughly pat the chicken thighs dry with paper towels. This step is important for achieving extra crispy skin. Squeeze the juice from half of the lemon over the chicken, ensuring each piece gets some. Next, season the chicken liberally with kosher salt, black pepper, garlic powder, onion powder, sweet paprika, and dried herbs. Rub the seasoning evenly into the skin and meat on both sides. Make sure the spices adhere well to create a flavorful crust.
Step 2: Preheat Air Fryer
Preheat your air fryer to 400°F (200°C) for at least 5 minutes. Preheating ensures the air fryer is hot enough to cook the chicken evenly and start crisping the skin immediately. This initial burst of heat helps to lock in the juices and creates that desired crispy texture for your air fryer chicken thighs.
Step 3: Arrange in Air Fryer
Carefully place the seasoned chicken thighs into the preheated air fryer basket or tray. Arrange them in a single layer, skin-side down. It is essential to avoid overcrowding the basket, as this prevents proper air circulation and can lead to uneven cooking and less crispy skin. If necessary, cook the chicken in batches to ensure each piece has enough space to cook perfectly.
Step 4: First Cook Cycle
Close the air fryer and cook the chicken thighs for 12 minutes. Cooking skin-side down first allows the fat to render and the skin to start crisping without burning. This initial cook helps to create a foundational crispiness before the final browning step. Set a timer and resist the urge to open the basket too frequently.
Step 5: Flip and Finish
After 12 minutes, use tongs to carefully flip the chicken thighs over so they are now skin-side up. Continue air frying for another 12-15 minutes. Cook until the skin is beautifully golden brown, wonderfully crispy, and the internal temperature reaches a safe 165°F (74°C) when checked with a meat thermometer inserted into the thickest part of the thigh, avoiding the bone. The USDA provides comprehensive guidelines for safely cooking poultry, recommending a safe minimum internal temperature for chicken to prevent foodborne illness. This ensures the chicken is fully cooked and incredibly tender.
Step 6: Rest and Serve
Once cooked, remove the air fryer chicken thighs from the basket and transfer them to a plate or cutting board. Let them rest for 5 minutes before serving. Resting allows the juices to redistribute throughout the meat, resulting in exceptionally tender and flavorful chicken. Serve immediately with your favorite sides and enjoy your perfectly cooked meal!
Pro Tips & Troubleshooting
For the best air fryer chicken thighs, pay attention to these details. Ensure chicken is thoroughly dry before seasoning; moisture is the enemy of crispy skin. For more tips on achieving great crunch, check out our guide to crispy oven-baked chicken drumsticks. Avoid overcrowding the air fryer basket; cook in batches if needed for even cooking and maximum crispiness. Always use a meat thermometer to confirm the internal temperature reaches 165°F (74°C), guaranteeing safety and perfect doneness. Adjust cooking time for larger or smaller thighs. To prevent smoke, ensure your air fryer is clean and consider adding a tablespoon of water under the basket if cooking very fatty pieces. For extra crispy skin, you can lightly brush the skin with a little oil before the final flip. If chicken cooks unevenly, rotate the pieces halfway through or invest in a quality air fryer with better circulation.
Serving, Storage & Variations
Serving Suggestions
These versatile air fryer chicken thighs pair wonderfully with a variety of side dishes. Serve them alongside roasted vegetables like broccoli or asparagus for a balanced meal. They are also delicious with fresh salads, fluffy quinoa, or classic mashed potatoes and rice. For an added touch, offer a selection of dipping sauces, such as BBQ sauce, honey mustard, or a creamy garlic aioli.
Storage & Reheating
To store, let the cooked air fryer chicken thighs cool completely at room temperature for no more than two hours. Transfer them to an airtight container and refrigerate for up to 3-4 days. For longer storage, freeze cooled chicken thighs in a freezer-safe bag or container for up to 3 months. When reheating, the air fryer or oven works best to revive the crispiness. Reheat at 375°F (190°C) for 8-12 minutes, or until warmed through, ensuring the internal temperature reaches 165°F (74°C).
Flavor Variations
Get creative with your air fryer chicken thighs by exploring different flavor profiles. For a spicy kick, add cayenne pepper, chili powder, and a dash of smoked paprika to your seasoning blend. Embrace Asian-inspired flavors with a marinade of soy sauce, ginger, garlic, and sesame oil before air frying. You can also experiment with classic BBQ rubs for a smoky, sweet taste, or consider a different preparation entirely, such as smoked chicken thighs. A simple sweet and savory glaze brushed on in the last few minutes of cooking can also elevate the dish.
Nutrition
These air fryer chicken thighs offer a protein-packed meal option. Dietitians often highlight the rich protein content and various nutrients found in chicken thighs, making them a valuable part of a balanced diet; read more about the nutritional value of chicken thighs. Chicken thighs are a good source of lean protein, essential for muscle maintenance and overall health. While the skin does add fat, it also contributes to the delicious flavor and crispiness. Removing the skin before eating can reduce the fat content if you are watching your intake.
| Nutrient | Amount (per serving, approx.) |
|---|---|
| Calories | 350-400 |
| Protein | 30-35g |
| Fat | 25-30g |
| Carbs | <1g |
| Sodium | 450-550mg |
Note: Nutritional values are approximate and may vary based on chicken size and exact ingredient quantities.
FAQ
Do I need to preheat my air fryer for chicken thighs?
Yes, preheating your air fryer to 400°F (200°C) for about 5 minutes is recommended. This ensures the basket is hot, leading to crispier skin and more even cooking for your air fryer chicken thighs.
How long to cook boneless chicken thighs in air fryer?
Boneless, skinless chicken thighs generally cook faster. Air fry them at 380°F (190°C) for 15-20 minutes, flipping halfway, until the internal temperature reaches 165°F (74°C).
Should I use oil for air fryer chicken thighs?
Chicken thighs have enough natural fat to crisp up well without much added oil. You can lightly brush the skin with a small amount of oil for extra crispiness, but it is often not necessary.
Can I cook frozen chicken thighs in the air fryer?
Yes, you can cook frozen chicken thighs, but increase the cooking time significantly. Air fry at 380°F (190°C) for 25-30 minutes, flipping halfway, until completely cooked through to 165°F (74°C).
How do I get crispy skin on chicken thighs?
Pat the chicken thighs very dry before seasoning. Cook skin-side down first, then flip to finish skin-side up. Avoid overcrowding the basket to allow proper air circulation.
What temperature should chicken thighs be cooked to?
Chicken thighs should reach an internal temperature of 165°F (74°C). Use a meat thermometer inserted into the thickest part of the meat to confirm doneness.
Conclusion
Creating perfectly crispy and juicy air fryer chicken thighs is incredibly simple and rewarding. This recipe offers a fantastic solution for busy weeknights, delivering immense flavor with minimal effort. It is proof that quick meals do not have to compromise on taste or texture. We encourage you to try this recipe tonight and experience the magic of your air fryer. Share your culinary successes and rate this recipe; we love hearing from you!