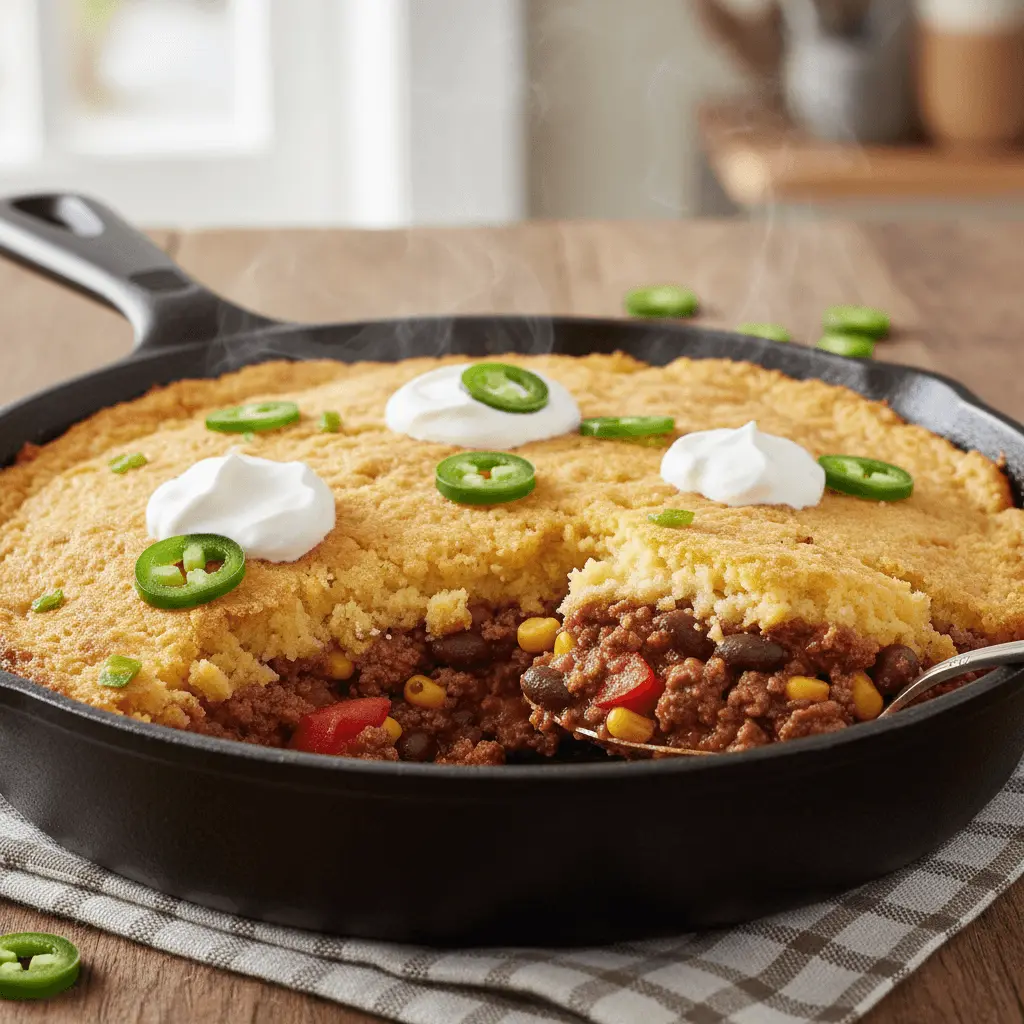
Get ready for the ultimate comfort food experience with this amazing chili cornbread casserole! This hearty dish perfectly blends savory, robust chili with a sweet, fluffy cornbread topping for a truly satisfying meal. It’s an easy, crowd-pleasing dinner that the whole family will adore, making weeknights simple and delicious. This recipe guides you through preparing both the rich chili and the golden cornbread, then assembling and baking them to perfection.
Why You’ll Love This Chili Cornbread Casserole
This chili cornbread casserole is a true game-changer for busy parents and beginner cooks alike. It brings together two beloved classics into one incredibly simple dish.
- It’s a fantastic one-pan meal, simplifying cleanup after dinner.
- The casserole is hearty and filling, making it ideal for any family dinner.
- This classic comfort food is perfect for cool weather evenings or a cozy weekend.
- You can easily customize it to suit everyone’s preferences and dietary needs.
- It’s excellent for meal prepping, ensuring delicious leftovers for days.
- It perfectly satisfies both your chili and cornbread cravings in one go.
Ingredients
This simple chili cornbread casserole recipe uses everyday ingredients you likely have on hand. Gather these items to create your delicious meal.
For the Chili
- 1½ pounds ground beef (lean or regular for less fat)
- 1 medium onion, diced
- 2 cloves of garlic, minced (fresh is best for flavor)
- 2½ teaspoons chili powder
- 1 teaspoon cumin
- Salt and black pepper to taste
- 1 (28 oz) can crushed tomatoes
- 1½ cups frozen corn (no need to thaw)
- 1 (15 oz) can black beans, rinsed and drained
For the Cornbread Topping
- 1 cup yellow cornmeal (fine or medium grind works well)
- 1 cup all-purpose flour (standard baking flour)
- 1 tablespoon granulated sugar (for a hint of sweetness)
- 2 teaspoons baking powder
- ¼ teaspoon baking soda
- 1 teaspoon salt (fine)
- 1 cup milk (any fat content will do)
- 2 large eggs (room temperature preferred for easier mixing)
- 6 tablespoons unsalted butter, melted and cooled
- Sour cream and sliced jalapeños for topping (optional, but highly recommended)
Notes & Substitutions
- Meat: Feel free to use ground turkey or chicken for a lighter version of the chili base.
- Beans: Swap black beans for kidney beans, pinto beans, or a mix of your favorite canned beans.
- Vegetables: Enhance the chili with diced bell peppers, shredded carrots, or zucchini for extra nutrients.
- Spices: Adjust the heat by adding a pinch of cayenne. For a smoky twist, include smoked paprika.
- Dairy-Free: Use your preferred plant-based milk and dairy-free butter to make this recipe dairy-free.
- Gluten-Free: Substitute all-purpose flour with a 1:1 gluten-free all-purpose flour blend for the cornbread.
- Cheese: For extra indulgence, add a layer of shredded cheddar or Mexican blend cheese over the chili before pouring the cornbread batter.
Equipment
You only need a few basic kitchen tools to make this comforting chili cornbread casserole.
- A 9×13 inch casserole dish.
- A large skillet for cooking the chili.
- Two mixing bowls (one large, one small).
- A whisk for combining ingredients.
- A spatula or spoon for stirring.
- Standard measuring cups and spoons.
Instructions
Creating this delicious chili cornbread casserole is straightforward. Follow these steps for a perfectly cooked, satisfying meal.
Prepare the Chili Base
Preheat your oven to 375°F (190°C). Lightly coat a 9×13 inch casserole dish with cooking spray or butter; set it aside. In a large skillet over medium-high heat, brown the ground beef with the diced onion. Cook until the meat is no longer pink and the onion softens, breaking up the beef as it cooks. Drain any excess fat from the meat mixture. Stir in the minced garlic, chili powder, and cumin. Cook for about 30 seconds, until the garlic becomes fragrant. Add the crushed tomatoes and frozen corn to the skillet. Bring the mixture to a gentle simmer, then reduce heat and let it cook for 5-7 minutes, allowing the flavors to meld. Remove the skillet from the heat. Stir in the rinsed and drained black beans. Season the chili generously with salt and black pepper to taste.
Mix the Cornbread Batter
In a large mixing bowl, combine the dry ingredients for the cornbread topping. Whisk together the cornmeal, all-purpose flour, granulated sugar, salt, baking powder, and baking soda. Ensure everything is well combined. In a separate, smaller bowl, whisk together the milk, eggs, and the melted and cooled butter. Pour the liquid mixture into the dry ingredients. Mix until just combined; be careful not to overmix, as this can lead to tough cornbread. A few lumps are perfectly fine.
Assemble and Bake
Carefully pour the prepared chili mixture into the greased casserole dish, spreading it evenly across the bottom. Next, gently spoon the cornbread batter evenly over the chili layer. Use the back of a spoon or a spatula to spread the batter right to the edges, ensuring it covers the chili completely. Place the dish in the preheated oven. Bake for approximately 28-35 minutes. The cornbread topping should turn a beautiful golden brown, and a toothpick inserted into the center of the cornbread should come out clean. Once baked, remove the chili cornbread casserole from the oven and let it cool slightly for 5-10 minutes before serving. This allows the casserole to set and makes for easier serving.
Pro Tips & Troubleshooting
Master your chili cornbread casserole with these helpful hints and easy fixes.
- Prevent Soggy Cornbread: Do not over-mix your cornbread batter; mix until just combined. Ensure your chili isn’t overly liquidy; simmer it long enough to thicken slightly.
- Flavor Boost: Lightly toast the chili powder and cumin in the skillet for 30 seconds before adding liquids to deepen their flavor. The culinary experts at Serious Eats explain that toasting spices enhances their complex aromas.
- Golden Crust: Including a tablespoon of sugar in your cornbread batter helps achieve that perfect golden-brown, slightly crisp top.
- Even Cooking: Spread the chili base evenly in the dish and the cornbread batter on top to ensure consistent baking.
- Don’t Overbake: Bake only until the cornbread is golden and a toothpick comes out clean. Overbaking can result in dry, crumbly cornbread.
- Rest Time: Allowing the casserole to rest for 5-10 minutes after baking lets the flavors meld and helps the layers set beautifully.
Serving Suggestions, Storage & Variations
This chili cornbread casserole is versatile and delicious. Here’s how to best enjoy and store it, plus ideas for changing it up.
Serving Suggestions
- Serve individual portions with a generous dollop of sour cream and a sprinkle of fresh, sliced jalapeños.
- Top with a handful of shredded cheddar or Monterey Jack cheese immediately after baking for a melty finish.
- Garnish with fresh cilantro and diced avocado for a burst of color and freshness.
- Pair this hearty meal with a simple green salad dressed with a light vinaigrette.
- Offer a dollop of homemade or store-bought guacamole on the side.
Storage Instructions
- Allow the chili cornbread casserole to cool completely to room temperature before storing.
- For safe consumption, the USDA provides detailed guidelines on refrigerating cooked leftovers for 3-4 days.
- Refrigerate any leftovers in an airtight container for 3-4 days.
- Freezing: For longer storage, wrap individual portions or the entire cooled casserole tightly in plastic wrap, then aluminum foil. Freeze for up to 3 months.
- Thaw frozen casserole overnight in the refrigerator before reheating.
- Reheat in the oven at 350°F (175°C) until warmed through, or microwave individual servings.
Recipe Variations
- Spicier: Kick up the heat by adding a diced green chili, a pinch of cayenne pepper, or a dash of your favorite hot sauce to the chili.
- Smoky: Incorporate smoked paprika into your chili spice blend for a richer, deeper flavor profile.
- Cheesy: Stir a cup of shredded cheese into the chili mixture before topping with cornbread, or sprinkle cheese into the cornbread batter itself.
- Vegetarian: Substitute the ground beef with a plant-based ground meat alternative and use vegetable broth instead of beef broth (if your recipe calls for it) for a delicious vegetarian chili cornbread casserole.
- Individual Servings: For fun single-serve portions, bake the casserole in oven-safe ramekins or even muffin tins, adjusting baking time as needed.
Nutrition Information
We provide estimated nutrition values for this chili cornbread casserole to help you plan your meals. Note that these values may vary based on specific brands and ingredient choices. Focus on key elements like calories, protein, carbohydrates, and fats. Consider the fiber and sodium content for your dietary needs.
| Nutrient | Per Serving (estimated) |
|---|---|
| Calories | 450-550 kcal |
| Protein | 25-30g |
| Carbohydrates | 40-50g |
| Fat | 20-25g |
| Fiber | 6-8g |
| Sodium | 600-800mg |
Frequently Asked Questions (FAQ)
Here are answers to common questions about making this fantastic chili cornbread casserole.
- Can I use a store-bought cornbread mix? Yes, you can! Just follow the package instructions for an equivalent amount to cover a 9×13 inch casserole.
- Can I make this chili spicier? Absolutely. Add extra chili powder, a pinch of cayenne pepper, or some fresh diced jalapeños to the chili base.
- How do I prevent the cornbread from sinking? Ensure your chili base isn’t too runny, and try to bake the casserole immediately after mixing the cornbread batter.
- Can I prepare this casserole ahead of time? You can assemble the chili and cornbread layers, cover the dish, and refrigerate it. Bake just before serving.
- Is this recipe freezer-friendly? Yes, it is! Freeze baked and cooled portions of the casserole in airtight containers for future easy meals.
Conclusion
This ultimate chili cornbread casserole truly delivers on comfort, flavor, and ease. Its hearty, robust chili base topped with a perfectly golden cornbread is a meal that brings warmth and satisfaction to any table. We hope you find this recipe incredibly simple to prepare, making it a new family favorite for busy weeknights or relaxed weekends. Give this delicious dish a try, and don’t hesitate to share your experiences or creative variations with us!